


How to Install a Dodge Challenger Carbon Fiber Lip
Table of Contents
- Why a Carbon Fiber Lip Is the Best Bolt-On for Your Challenger
- Dodge Challenger Front Lip Fitment by Year (2015-2023)
- Carbon Fiber Front Lip Installation Tools You Actually Need
- Step 1: Prep the Bumper and Test-Fit the Lip
- Dodge Challenger Front Splitter Installation: Step-by-Step
- Drilling vs. No-Drill Mounting: What Works on a Challenger
- Troubleshooting: Gaps, Rattles, and Fitment Headaches
- Carbon Fiber Lip Care and Maintenance
- Conclusion: Get It On and Get It Noticed
- Frequently Asked Questions
Last Updated: October 17, 2026
Why a Carbon Fiber Lip Is the Best Bolt-On for Your Challenger
A carbon fiber lip is the single best-looking upgrade you can bolt to a Challenger's nose, and it's the one part your neighbors will notice before they notice your exhaust. Here at Merrick Motorsports, we've watched owners spend thousands on engine work nobody can see from the sidewalk. A front lip? Instant visual payoff, and it actually does aerodynamic work at speed.
The real win is how a carbon fiber front lip changes the car's stance. It drops the visual center of gravity and makes the widebody look even wider.

A few things a good lip does for you:
- Cuts front-end lift at highway speed
- Sharpens turn-in feel
- Hides the plain plastic lower bumper
- Adds that "built, not bought" look
Dodge Challenger Front Lip Fitment by Year (2015-2023)
Fitment is where most Challenger front lip projects go sideways, so let's get it straight. The 2015-2023 Challenger came in standard body and widebody forms, and the front bumper changed across trims. A lip built for a Hellcat won't bolt cleanly onto an SXT bumper, and a widebody lip will leave gaps on a narrow-body car.
Match the part to your car, not the other way around:
Your Challenger |
What Fits |
Watch Out For |
|---|---|---|
SXT / RT (standard body) |
RT/SXT-specific splitter |
Hellcat lips won't line up |
Hellcat / Hellcat Redeye |
Hellcat-specific lip or airdam |
Widebody vs. standard body choice |
Widebody models |
Widebody airdam |
Narrow-body parts leave gaps |
Our APR Performance aerodynamic components are built around specific bumper shapes, so read the listing's fitment note before you click buy. The NHTSA vehicle specification lookup confirms your trim if you're unsure what you're working with.
Carbon Fiber Front Lip Installation Tools You Actually Need
You don't need a full shop to install a carbon fiber front lip. A basic garage setup covers it, and most of these tools are already in your box.
Gather this before you start:
- Socket set with 10mm and 13mm sockets
- Torque wrench
- Jack and two jack stands (or ramps)
- Painter's tape
- Isopropyl alcohol and clean rags
- Drill with bits (only if you're drilling)
- Center punch and marker
- Panel clip removal tool
- Safety glasses
Step 1: Prep the Bumper and Test-Fit the Lip
Prep and test-fit is the step everyone rushes, and it's the one that decides whether your carbon fiber front lip sits flush or looks like it lost a fight with a curb.

Here's the order:
- Park on level ground and lift the front on ramps or stands.
- Wash the lower bumper, then wipe it down with isopropyl alcohol.
- Peel back any old tape or trim residue.
- Hold the lip up and test-fit it dry, no hardware.
- Tape the lip in place with painter's tape and step back to check the gaps.
- Mark your drill points with a marker and center punch if drilling.
Dodge Challenger Front Splitter Installation: Step-by-Step
The Dodge Challenger front splitter installation is a two-hour job for most owners with basic tools. Work slow, keep the hardware organized, and don't overtighten carbon fiber.
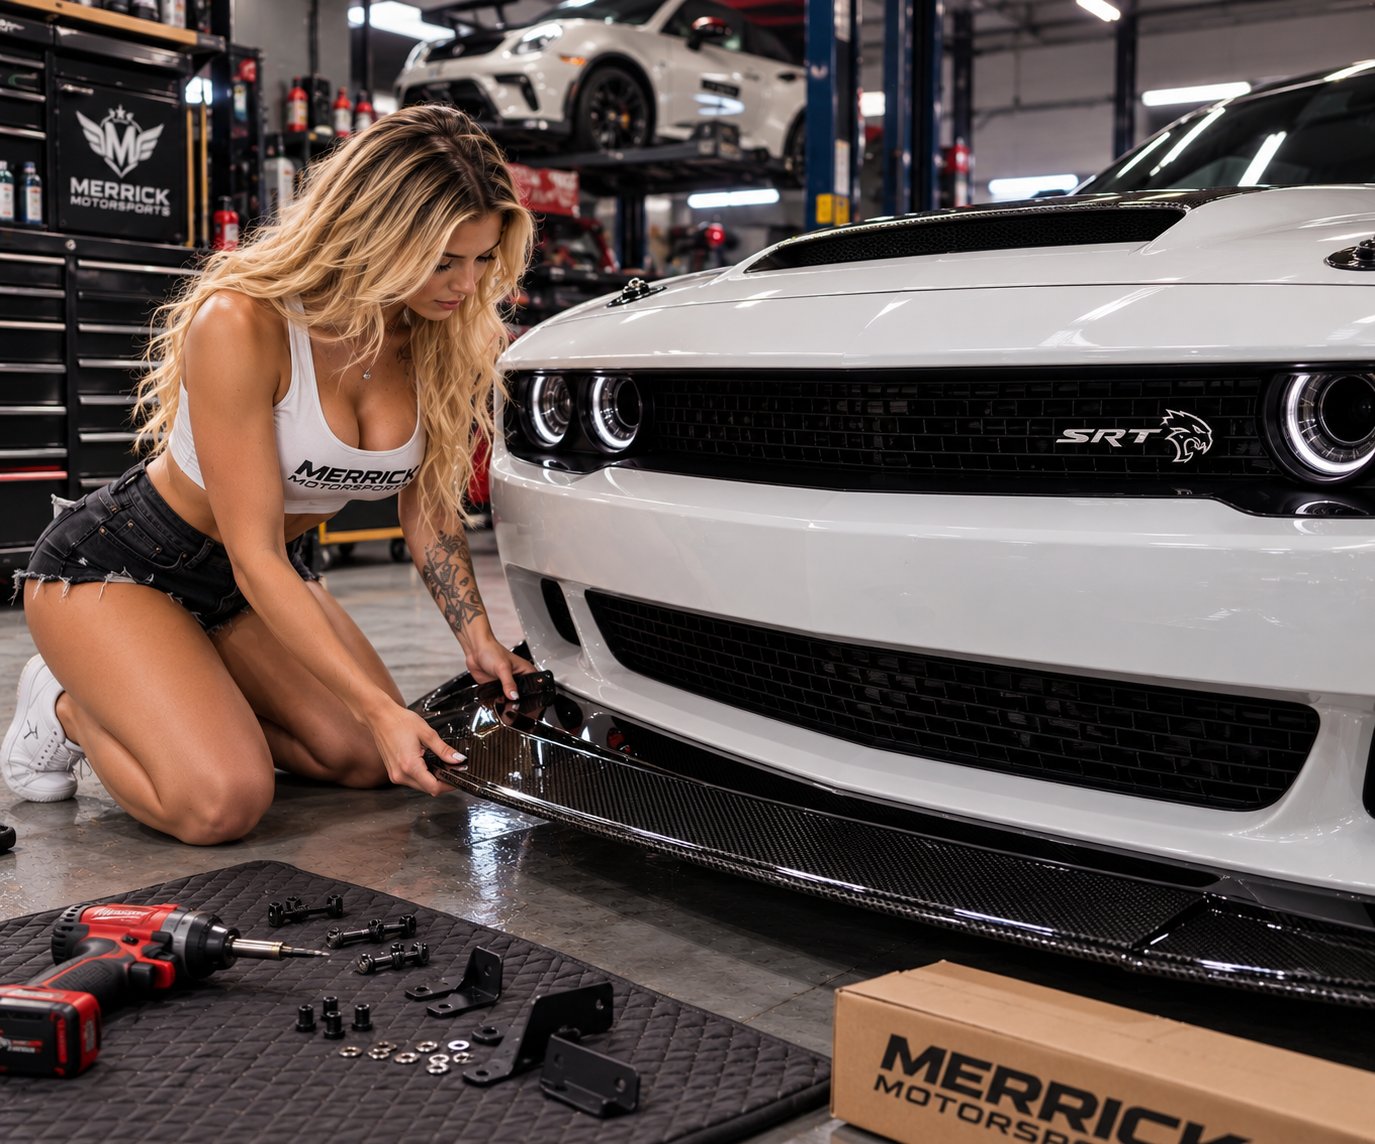
Securing the splitter firmly requires a pristine contact point, as even minor debris can compromise the bond, making thorough cleaning vehicle surfaces an essential prerequisite for long-term durability.
Follow these steps:
- With the lip taped in place, drill your pilot holes through the marked points.
- Start the center bolts first, snug but not tight.
- Add the outer bolts, then the support rods if your kit includes them.
- Torque in a cross pattern so the lip pulls down evenly.
- Peel the tape and check the gap along the whole bumper edge.
- Recheck every fastener after the first drive.
Our Dodge Challenger Hellcat Carbon Fiber Front Wind Splitter ships with stainless steel support rods and a functional undertray, so the hardware is in the box. The Dodge Challenger RT/SXT Carbon Fiber Front Wind Splitter covers the standard-body crowd.
Drilling vs. No-Drill Mounting: What Works on a Challenger
Drilling is the stronger choice on a Challenger, and no-drill tape mounting is fine for light cosmetic lips but risky at speed. The car's front end sees real air pressure on the highway, and tape alone can lift over time.
Carbon Fiber Dodge Challenger Hellcat Front Airdam / Lip 2015-2023 →
Here's the honest breakdown:
- Drill and bolt: Most secure, best for splitters and airdams, needs a drill.
- Tape only: Fast, reversible, best for light trim and show cars.
- Tape plus self-tapping screws: Middle ground for owners who want security without big holes.
A common mistake is trusting double-sided tape on a heavy splitter. In practice, the tape holds for a season, then the leading edge starts to lift. If your lip came with support rods, use them.
Troubleshooting: Gaps, Rattles, and Fitment Headaches
Gaps and rattles almost always come from three things: a warped lip, uneven torque, or a part built for the wrong bumper. Fix the cause, not the symptom.
Try these fixes:
- Gap at one corner: Loosen all bolts, push the lip flush, retighten in a cross pattern.
- Rattle at speed: Check support rods and add a thin rubber washer at contact points.
- Lip sits too low: Confirm you have the right body style part.
- Tape lifting: Clean again with alcohol and use a fresh adhesive promoter.
Carbon Fiber Lip Care and Maintenance
Carbon fiber lip care and maintenance is simple, but skipping it is how that glossy weave turns chalky. The clear coat on carbon fiber is what you're protecting, and it needs the same care as paint.
Keep it healthy with this routine:
- Wash with pH-neutral soap, never dish detergent
- Dry with a microfiber towel, not a bath towel
- Wax or seal the clear coat every few months
- Park away from curbs and steep driveways
- Wipe bug splatter off before it bakes on
A rock chip left alone can let moisture under the clear coat. Touch up small chips early and the weave stays sharp for years.
Conclusion: Get It On and Get It Noticed
The install is a weekend job, the payoff is every time you walk up to the car. A carbon fiber lip turns a stock Challenger nose into something that looks lowered and mean without touching the suspension.
At Merrick Motorsports, we stock the Carbon Fiber Dodge Challenger Hellcat Front Airdam/Lip with integrated metal skid plates to survive driveway scrapes, plus the Hellcat APR-lip splitter for owners running that setup. Pick your body style, gather your tools, and get it bolted on. Your Challenger has been waiting for a chin.

Frequently Asked Questions
Do you have to remove the bumper to install a front lip on a Dodge Challenger?
No. On 2015-2023 Challengers, the front lip or splitter bolts to the underside of the factory bumper, so you can do the job with the car on ramps or jack stands. Removing the bumper is only needed if you are replacing damaged mounting hardware or doing major front-end work. Most garage installs take 1-2 hours with basic hand tools.
Can you install a carbon fiber lip without drilling?
Some lips use existing factory mounting points and double-sided tape, but a secure fit usually requires drilling a few pilot holes into the bumper's underside. If you want to avoid drilling, look for a lip that uses factory hardware and adhesive promoter. Just know that tape-only mounts can loosen at highway speed, so check fasteners regularly.
How do you make sure a front lip fits a specific Challenger year?
Match the lip to your body style and trim. A Hellcat or Hellcat Redeye needs a lip designed for that bumper, while an RT or SXT uses a different shape. Widebody and standard body also take different parts. Check the product listing for the year range and body style before ordering, and test-fit the lip before drilling anything.
How do you protect a carbon fiber front lip after installation?
Wash it with pH-neutral soap and a soft mitt, then apply a UV-resistant sealant or ceramic coating made for carbon fiber. Avoid harsh wheel cleaners and automatic brushes. Inspect the clear coat every few months for chips, and touch up small nicks early. If your lip has metal skid plates underneath, keep them clean to prevent debris buildup.